How to install SignID on macOS?
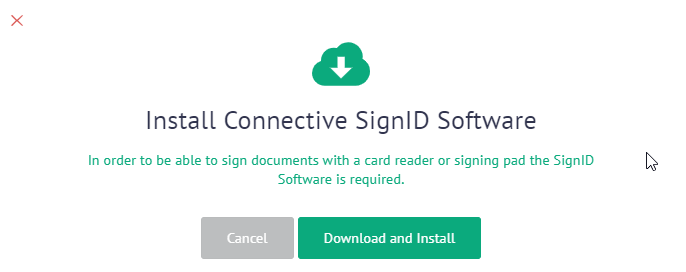
- Click Start signing in a document that requires eID, BeLawyer or Biometric signing. When the SignID software is not installed you are prompted to install it.
- Click Download and Install to start the download. If prompted, select Save file.
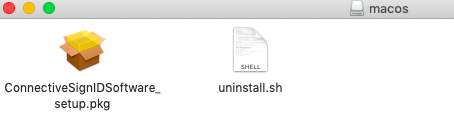
- The file is downloaded to the Downloads folder.
- Click Downloads in the Dock.
- Then double-click SignID-Connector.dmg to unpack it. This may take a few seconds.
- If you don't have the necessary admin rights on your computer then you'll to follow these steps as well:
- Go to System Preferences.
- Open Security and Privacy.
- On the General tab, tap the lock at the bottom left of the screen.
- Enter your password to unlock Security and Privacy.
- Allow Connective software to be installed.
- In the folder that opens, double-click ConnectiveSignIDSoftware_setup.pkg to start the installation.
- In the installation screen, click Continue.
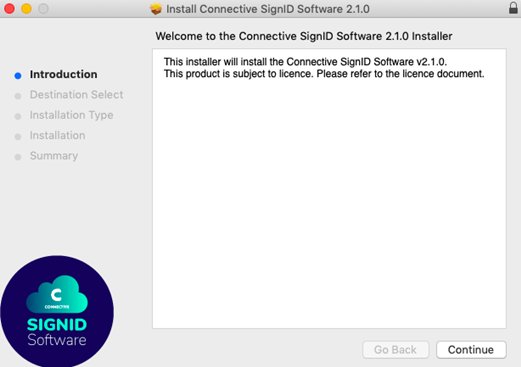
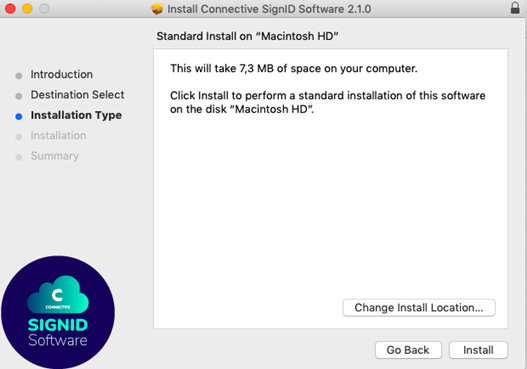
- Then click Install. It is recommended not to change the install location.
- If prompted, enter your account password, and then click Install Software.
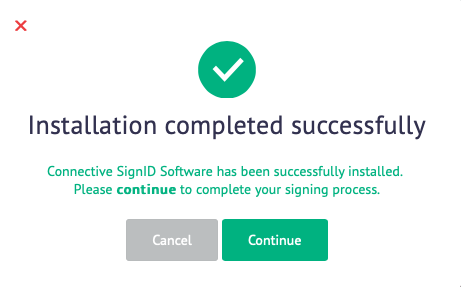
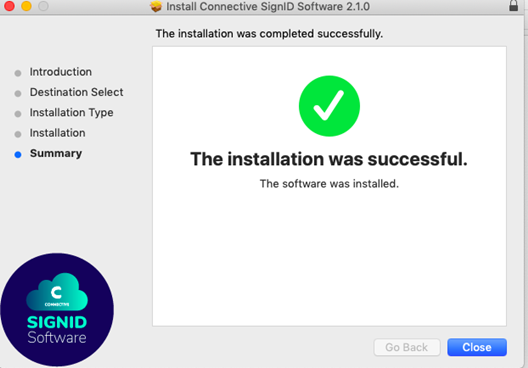
- When the installation is complete, click Close.
Attention: when using Mozilla Firefox, you need to quit it and restart it after installing SignID software. Otherwise you will keep being prompted to install SignID.