1. Access the Theme settings
Prerequisite: you need to be part of a user group that has the required permissions to access the Theme settings of the eSignatures Config Index. If you can't log in to the Config Index, contact your administrator or Connective.
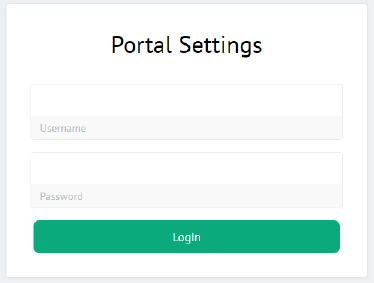
Go to https://[server]/[application]/config/index.html
Enter your Username and Password.
Click Login.
Note: With the introduction of our SSO authentication service, you won't need to enter credentials if you are already logged in to another eSignatures component.
- Click the Theme tab. Note that the Configuration and DSS tabs may not be accessible, depending on your permissions.
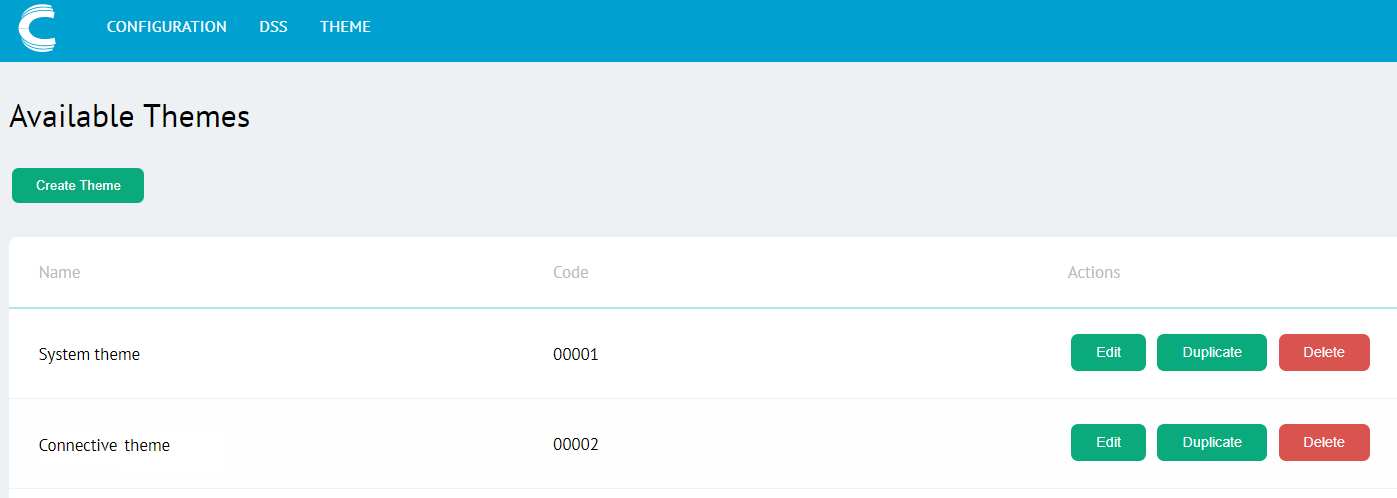
Two themes are by default available: System theme and Connective theme.
Connective theme
This is the default Connective theme and uses the standard Connective colours. The default colour code of each component is mentioned in this documentation.
Note that the Connective theme cannot be edited or deleted.
System theme
If you were already using a custom theme in a previous eSignatures version and you upgraded to eSignatures 5.4, the colours of the existing theme will be applied to the System theme.
Note however, that in previous versions of eSignatures it was only supported to customize the WYSIWYS. Since version 5.4, you can customize nearly every element of the eSignatures components: Web Portal, Redirect page, Top bar, etc. To facilitate the administrator’s job, the system tries to apply the colours of the existing theme to as many configurable elements of the System theme as possible, but it’s up to the administrator to check if the migration happened correctly.
If you weren’t using a custom theme in the previous version of eSignatures, the System theme will be identical to the Connective theme, with the difference that you’re able to edit it.
When creating a new theme, the new theme will be based on the System theme.
When using the Restore to defaults buttons they will restore the colours to the ones of your current System theme.