3.1 Create a Connective eSignatures document
In the following chapter, a step by step overview is provided of how you can upload (a) document(s) to eSignatures. Please be advised that some screenshots may differ from the actual implementation within your Salesforce org. For more information on the different configuration possibilities, have a look at Configuring the connector.
Create the package
Log in to your Salesforce org.
Depending on how your Salesforce org has been configured, you can create an eSignatures document from within Opportunities, Contacts, Accounts, a custom object or at the Connective eSignatures Document list page. In this manual we explain how to create an eSignatures document from within Opportunities.
Click the Opportunities tab.
Search for the correct Opportunity you want to start the signing session from.
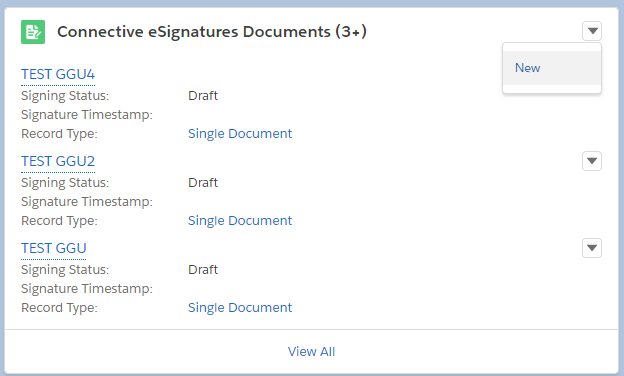
At the right-hand side of the screen, click the down arrow next to Connective eSignatures Documents, and click New.
Enter a Package Name and set an Expiry Date.
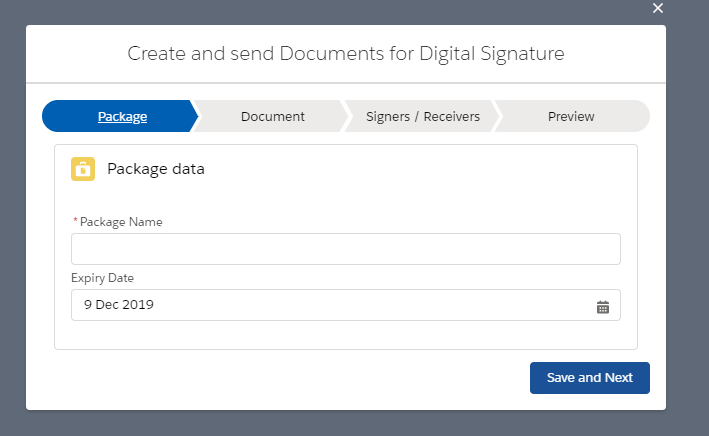
Note: eSignatures does not support the following characters in file names:
Character Name / Slash \ Backslash ? Question mark % Percent * Asterisk : Colon | Vertical bar " Quote < Less than > Greater than Click Save and Next .
Add document
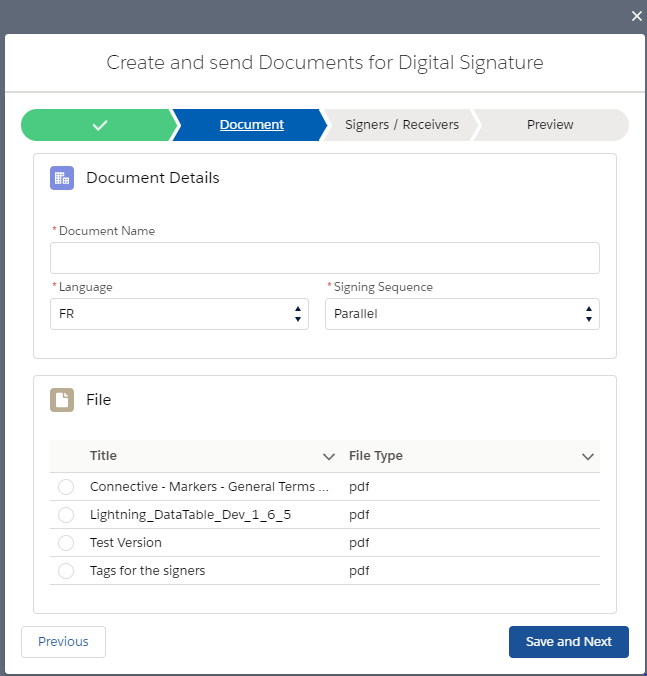
Provide a document name (or select a document from the bottom - the name will be copied).
Select the language in which the document is drafted. You can add documents in English, French, Dutch and German. When you choose to add legal notices, they'll be written in the language you select here.
Decide whether to add a Legal Notice to your documents.
Important:
When you add a legal notice, the signers need to retype the exact content of the legal notice before they're able to sign the document.
Select the Signing Sequence: Parallel or Sequential.
- Choose Parallel if the order in which the signers sign the document has no importance.
- Choose Sequential to define a signing order: the signer won't be able to sign the document before another signer has signed it.
Set an Expiry Date (optional). After this date, signers will no longer be able to sign the document.
When you’re done, click Save and next.
Add signers and receivers
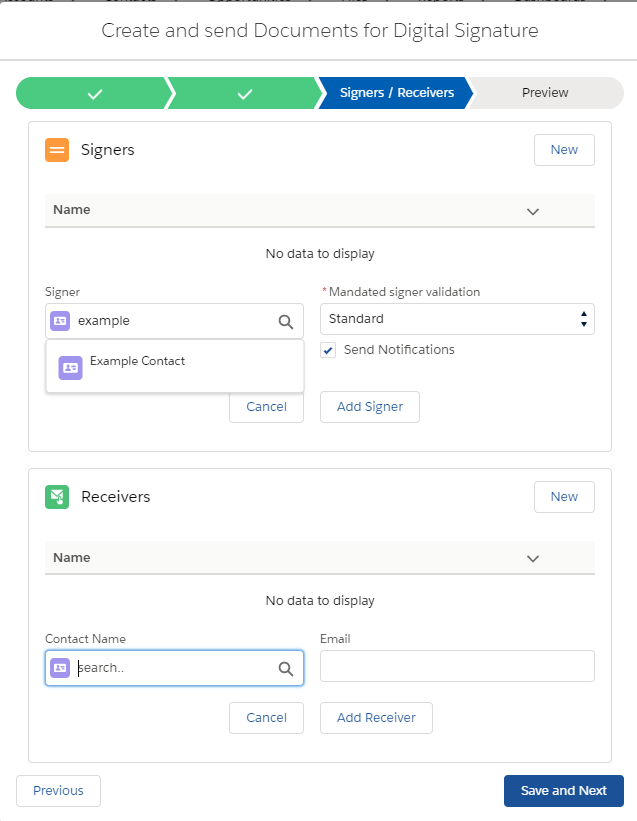
- Click New to add a new signer.
- Search and select the right contact.
- Select the signer language (if no mapping was configured).
- Click Add Signer.
- Repeat the steps above for all signers you want to add.
- Click New to add a new receiver.
- Search and select the right contact.
- Click Add Receiver.
- Repeat the steps above for all receivers you want to add.
- Click Save and Next.
Add an additional document or send to signers
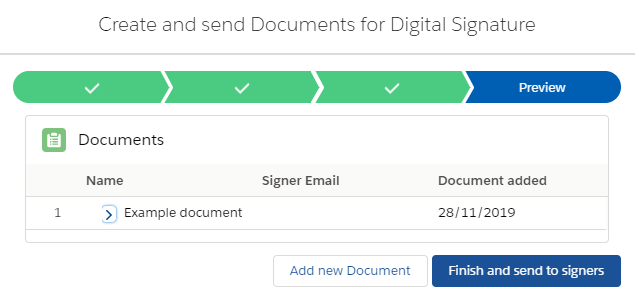
Within this step you can either Add new document at which point you will be brought back to the Add document step or you can Finish and send to Signers. A notification will be sent to the signers which allows them to access the document for signing.