4. Sign your documents with Connective eSignatures
In this section you'll learn how to sign a Connective eSignatures document step-by-step.
Open the email you received from your eSignatures solution.
Click the secure link inside the email. The document will open in a new tab in your default web browser.
Important: this link will only work once. Once you've clicked it, you need to sign or reject the document. If the link expired, click Request a new email to receive a new link.

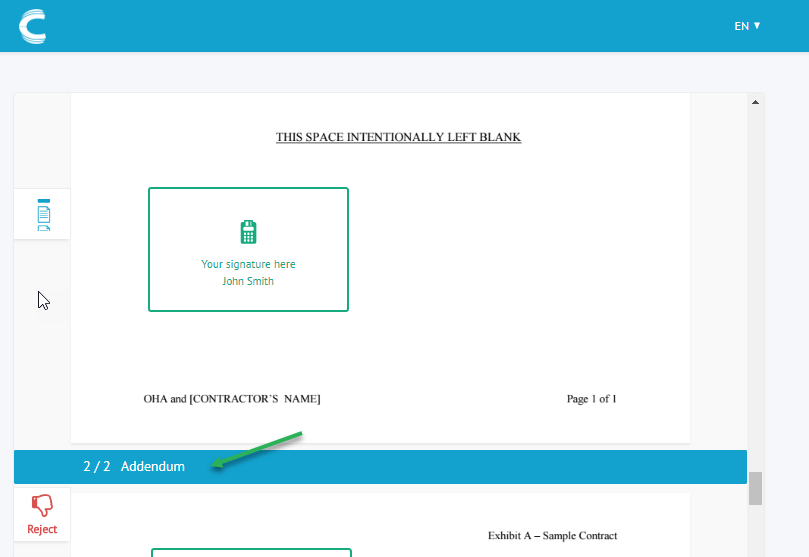
Read the entire document and scroll down to the last page. If your package contains multiple documents, the start of each document is indicated by a header. The header also indicates how many documents the package contains, and which document your are viewing.
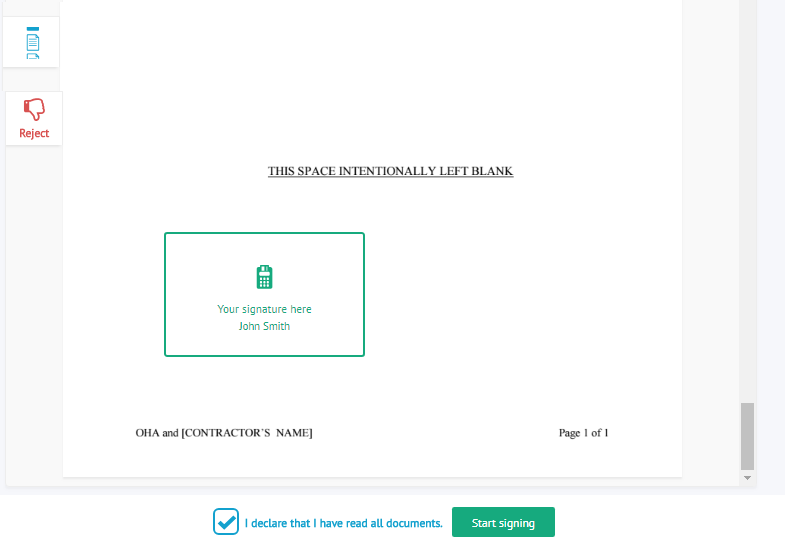
When you've scrolled down to the last page, the checkbox I declare that I have read all documents now becomes available. Check it and then click Start signing.
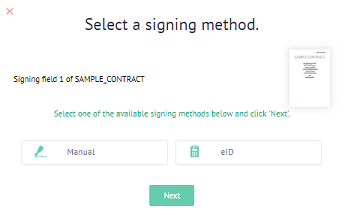
Choice of signing
If multiple signing methods have been defined, you are prompted to select a signing method. Select your preferred signing method, and then click Next.
Install the Connective browser package
Depending on the signing method that was defined for you, you might be prompted to install the Connective browser package. The Connective browser package is required on Windows and macOS when using any signing method that requires additional hardware:
- eID signing: requires and eID card reader
- BeLawyer signing: requires a transparent card reader
- Biometric signing: requires a biometric signing pad

To learn how to install the Connective browser package, see the Browser package section on the documentation website.
Note: when using Internet Explorer, do not use Compatibility View. This is not supported by the Connective browser package.
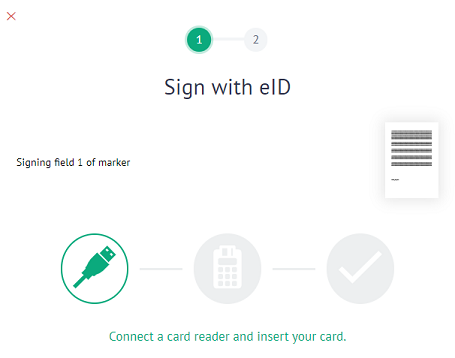
Sign the document
Once the browser package has been installed, follow the instructions on the screen to sign your document.