2.3 Create documents groups
In a default configuration all documents a user uploads are sent to their personal My Documents folder. This folder is private and can only be accessed by the user in question.
Important: Never rename or delete the My Documents group! Doing so could lead to serious environment issues.
If you want users to be able to collaborate on one another's documents, you can create new document groups and determine which user groups should have access to them. You can even apply custom themes to a document group. This way, all documents uploaded to a specific document group can have the same customized look.
To create document groups:
- Log in to eSignatures.
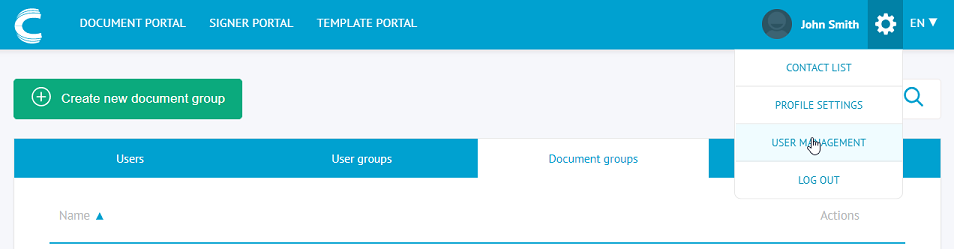
- Click the settings icon
 on the top toolbar and click User management.
 - Click the Document groups tab and then click Create new document group.
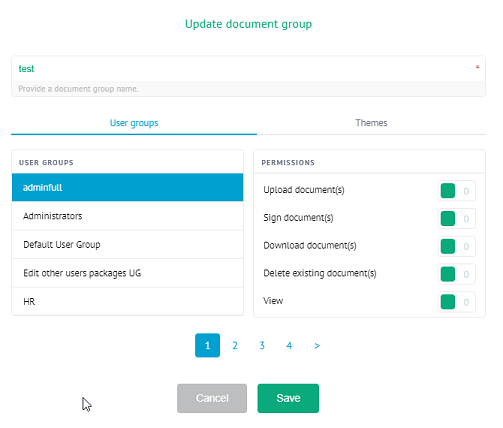
- Once the document group has been created, click Edit next to it to configure it.
- The available user groups are listed on the left-hand side.
- Determine for each group which permissions it should have on the document group.
For detailed information on how to configure document groups, see the corresponding section in the User Documentation.
To apply a theme to a document group
- Log in to eSignatures.
- Click the settings icon on the top toolbar and click User management.
- Click the Document groups tab and then click Edit next to the document group you want to edit.
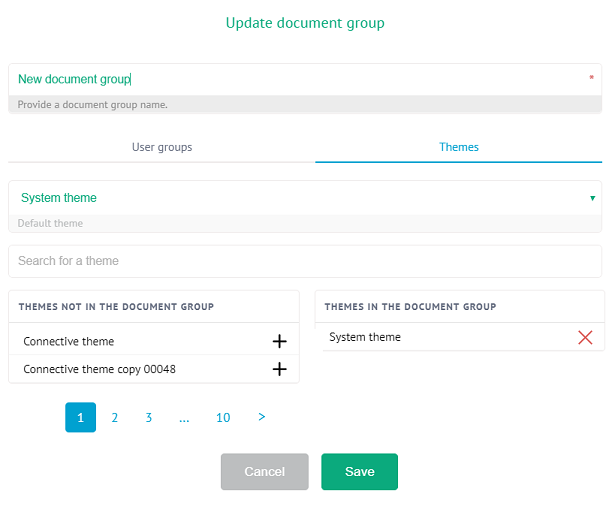
- Click the Themes tab.
- Click the plus sign next to the themes in the left-hand column to add them to the document group.
- Then click the Default theme list to select the default theme of the document group.
Click Next to go to the next step.