2.1 Create and configure user groups
Think carefully about which types of permission sets you will require and create user groups accordingly.
For instance, some users might only need to sign documents and therefore only need access to the Signer Portal. Others will only send documents and only need access to the Document Portal. Still others will need access to both.
Important:
Never rename or modify the permissions of the two default user groups Administrators and Default User Group.
New users are automatically added to the Default User Group. You can move them to a different group afterwards.
To create user groups:
Log in to eSignatures.
Click the settings icon
 the top toolbar and click User management.
Click the User groups tab and then click Create new user group.
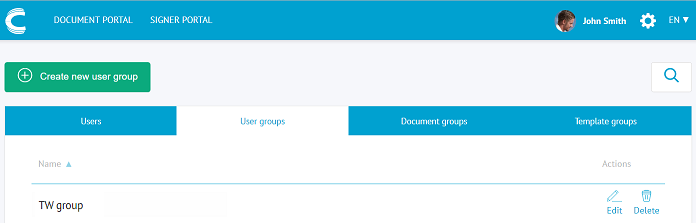
- Once the user group has been created, click Edit next to it to configure its permissions.
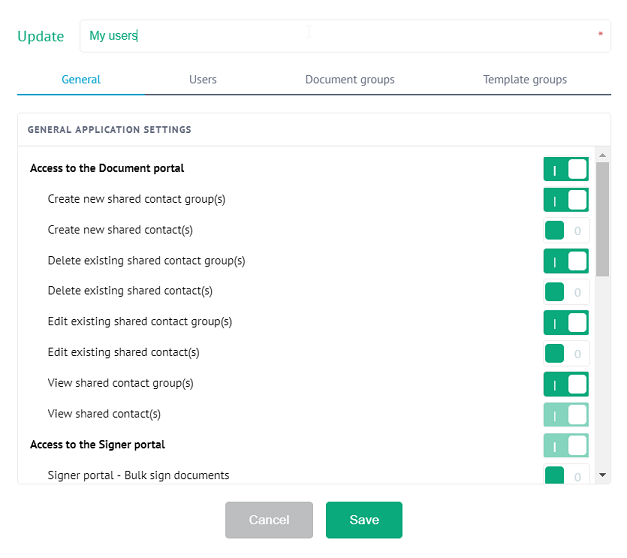
- Enable the permissions of your choice, and then click Save.
For detailed information on how to configure User Groups, see the corresponding section in the User Documentation.
Click Next to go to the next step.