2.2 Create users and add them to a user group
Now you've created the necessary user groups, you can create users and add them to the right group.
To create users:
Log in to eSignatures.
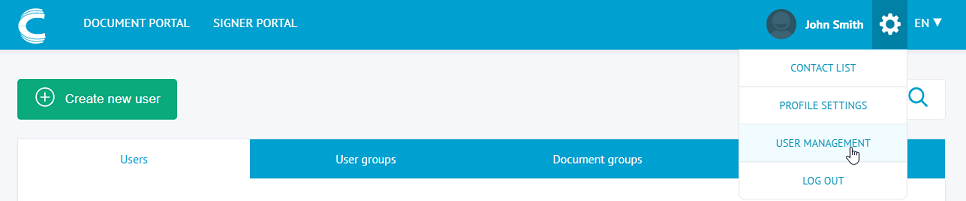
Click the settings icon the top toolbar and click User management.
Click Create new user.
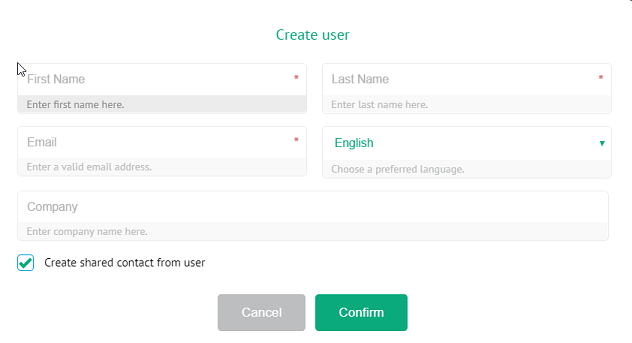
Enter the required info and click Confirm.
- The first and last name are used as salutation in the email notifications.
- The email address is the address to which email notifications will be sent inviting the contact to take action.
- The preferred language is the language in which the contact will receive notifications.
Tip: you can also create a shared contact based on the user you're creating. This way, all users of your eSignatures platform will be able to send documents to this contact and they won't need to create the contact manually.
To add users to a user group:
- In the User Management section, click the User groups tab.
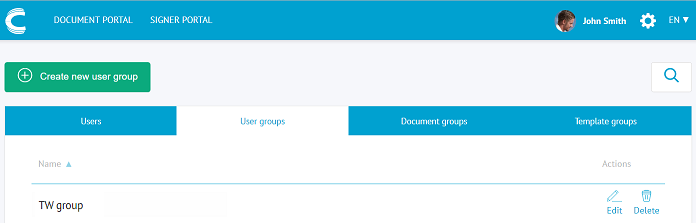
- Click Edit next to the user group to which you want to add the user.
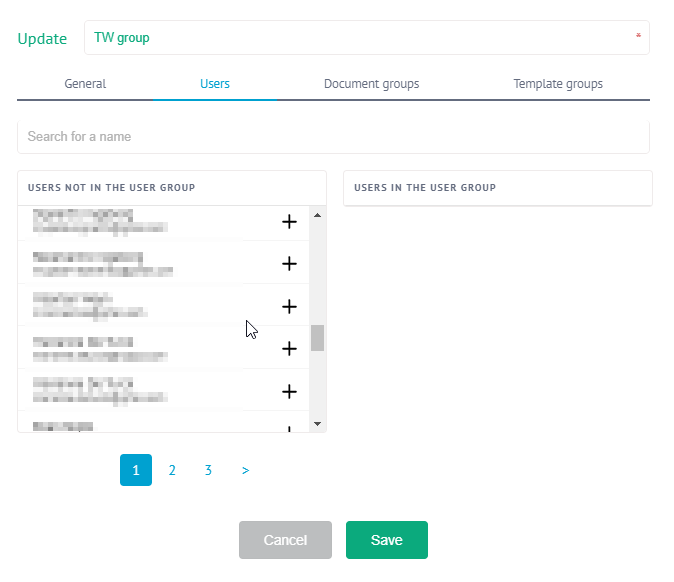
- Click the Users tab and click the plus sign next to the user you want to add.
- The changes are auto-saved.
For more information on creating users, see the corresponding section in the User Documentation.
Click Next to go to the next step.